
Choosing the Best Seal for Frameless Shower Doors
Key Material Considerations: PVC vs. Polycarbonate
When considering materials for seals on frameless shower doors, PVC and polycarbonate present distinct advantages and disadvantages. PVC seals are known for their flexibility, allowing them to form a tight seal even on slightly uneven surfaces. This material is also quite durable and has strong resistance to water damage, making it a practical choice for environments consistently exposed to moisture. However, PVC can deteriorate faster than its counterpart particularly under constant exposure to harsh water conditions.
In contrast, polycarbonate seals excel in durability and are highly resistant to cracking, which makes them a preferable option for long-term use. They can handle extreme temperatures without deforming, maintaining their integrity better over time. While polycarbonate may have a higher upfront cost than PVC, its longevity often compensates for this initial investment. Additionally, from an environmental standpoint, polycarbonate’s longer lifespan means it requires less frequent replacement, potentially reducing waste.
Choosing between PVC and polycarbonate ultimately depends on balancing these factors with your budget. The decision should also consider the specific conditions in your bathroom, such as humidity levels and water quality, to ensure you choose the most suitable seal material for your needs.
Measuring Glass Thickness and Door Dimensions
Accurate measurement of glass thickness and door dimensions is crucial for installing a well-fitted seal on frameless shower doors. Begin by using a precision caliper to measure the thickness of the glass panels where the seal will be applied; ensure the readings are taken from different points to account for any inconsistencies. This step prevents the selection of seals that might be too tight or too loose.
Proper door dimension measurement ensures that seals are efficiently installed for maximum water retention. Incorrect dimensions can lead to ineffective sealing, resulting in water leakage. To avoid this, use a measuring tape to gauge the width and height of the door, noting any unique features or irregularities that may require customized sealing solutions.
For doors of unconventional sizes or shapes, it might be necessary to pursue specialized sealing solutions. These solutions can be tailored to fit custom sizes, ensuring the seal perfectly matches the door contours and thickness. This approach ensures that water remains contained within the shower area, maintaining a dry and safe bathroom environment.
Preparing for V Seal Installation
Essential Tools and Safety Gear
Before you begin the installation of a V seal, gathering the right tools is key to ensuring a successful project. Essential tools include a utility knife for cutting the seal, a measuring tape to ensure precision, and a level to maintain straight alignment during installation. Additionally, prioritizing safety is crucial. Use protective gear like gloves to avoid cuts, goggles to shield your eyes from debris, and knee pads for comfort during prolonged kneeling. These precautions not only prevent injuries but also allow you to work more efficiently. Including extra items like painter’s tape can further refine your process by keeping the seal in place temporarily while adjustments are made.
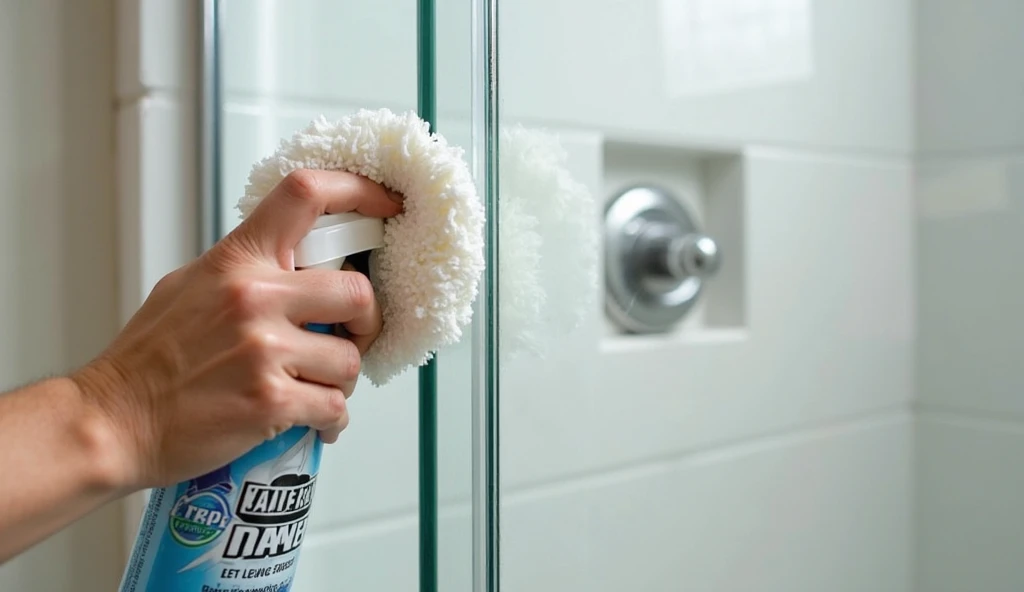
Cleaning and Prepping the Glass Surface
Thoroughly cleaning the glass surface is an integral step for the proper adhesion of the seal. Dust, grime, and residual soap scum can hinder effective bonding, compromising the seal’s functionality. Start with a gentle cleaner like a vinegar solution or a commercial glass cleaner specifically formulated to dissolve soap scum without streaking or leaving residues. Use a non-abrasive cloth or sponge to prevent scratches on the glass. Wipe in circular motions from top to bottom for thoroughness. It’s advisable to inspect after cleaning for any remaining deposit that could sabotage adhesion. By taking a meticulous approach to cleaning, you set the foundation for an enduring and tightly sealed shower perimeter.
Step-by-Step V Seal Installation Guide
Cutting the Seal to Fit Your Door
To ensure the V seal fits snugly on your door, precise measurement and cutting are essential. Begin by measuring the width of your door, accounting for any irregularities, and then transfer this measurement to the seal. Use a utility knife and a straight edge to achieve a clean cut, which is crucial to maintaining the integrity of the seal. This precision prevents gaps that could compromise the seal’s effectiveness. Remember, safety is paramount; always use cut-resistant gloves and handle all tools carefully to avoid injury.
Snap-On vs. Adhesive-Based Attachment Methods
Choosing between snap-on and adhesive-based attachment methods depends largely on the type of shower door and your personal preferences. Snap-on seals are typically easier to install and adjust, making them ideal for novice DIY enthusiasts. However, they may not provide as durable or watertight a seal as adhesive-based alternatives, which adhere directly to the glass and offer greater resilience and longevity. When deciding which method to use, consider factors such as the ease of installation, the need for frequent adjustments, and the level of durability required.
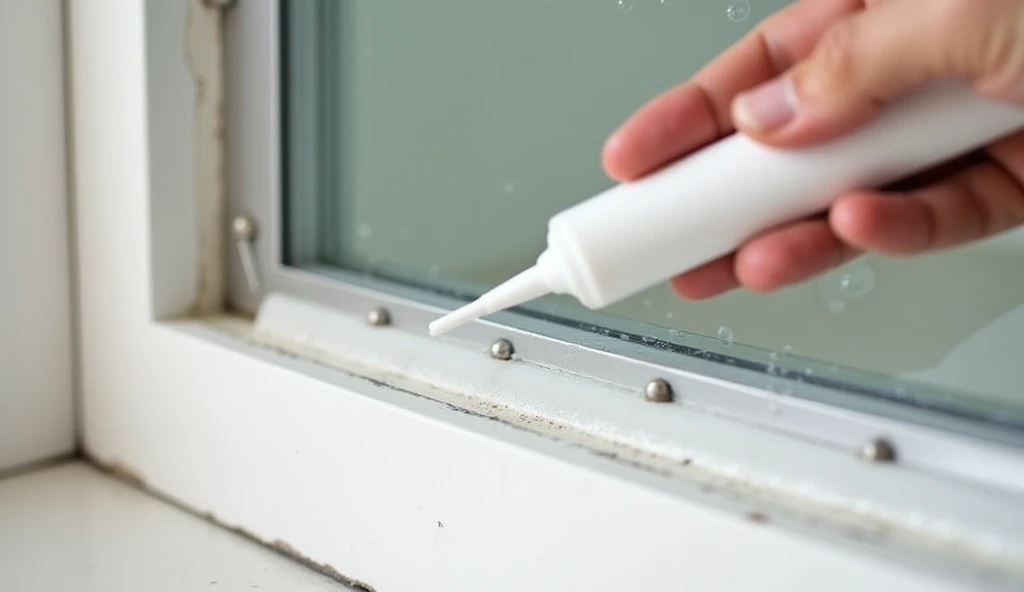
Using Dish Soap or Silicone for Tight Seals
Using dish soap during installation can facilitate the positioning of seals by reducing friction, allowing for smoother adjustments. Simply apply a small amount to the surface before placing the seal. Alternatively, silicone sealant is excellent for achieving tight, water-resistant seals, offering superior durability and flexibility. Apply silicone sparingly using a caulking gun, smoothing it out with a damp finger for an even finish. Both methods can significantly enhance the performance and lifespan of your V seal if applied correctly.
Avoiding Common Installation Mistakes
Overlooking Door Alignment Checks
Ensuring correct door alignment is crucial for achieving an effective seal and preventing leaks. Misalignment can cause gaps and lead to water leakage, diminishing the seal’s performance. Common indicators of misalignment include uneven spacing along the doorframe or difficulty in closing the door smoothly. To address these issues, you should adjust the hinges or brackets before installing the seal. It’s essential to conduct thorough checks to confirm that the door is properly aligned by following a comprehensive checklist. This checklist should include examining the gaps around the door, ensuring that the door closes flush with the frame, and verifying that it operates smoothly without any obstructions, ensuring the seal will adhere effectively.
Incorrect Seal Tension and Gap Management
Maintaining proper tension on seals is vital to avoid premature wear and tear. Incorrect tension can lead to gaps that undermine the seal’s effectiveness and result in leaks. Common gap management mistakes include ignoring even distribution of the seal and unequal pressure during installation. To ensure satisfactory performance, it is crucial to manage tension correctly by verifying that the seal is evenly compressed along the length of the doorframe. This can be achieved by using a tension balance tool or manually adjusting the seal as needed. Following guidelines for effective tension management, such as confirming the seal is snug but not overly tight, will help preserve the integrity of the installation and extend the lifespan of the seal.
Maintaining Your Frameless Shower Door Seal
Routine Cleaning to Prevent Mold Buildup
Regular cleaning of your frameless shower door seal is crucial to prevent mold and mildew buildup, which can severely impact the seal’s longevity. Establishing a routine cleaning schedule helps maintain the integrity of the seal, ensuring that it continues to function effectively in keeping moisture out. Effective cleaning methods include using recommended products like mild soap or vinegar solutions, which are safe for both seals and glass surfaces. Ignoring seal maintenance can lead to deterioration, reducing its effectiveness and ultimately requiring a complete replacement. Regular care not only preserves the aesthetic appeal of your shower door but also ensures its continued functionality.
When to Replace Worn or Cracked Seals
Knowing when to replace worn or cracked seals is essential to avoid water damage and costly repairs. Common signs that seals need replacement include visible cracks, stiffness, or loss of flexibility. Different seal materials have varying lifespans, so conducting regular inspections can help determine when it’s time for a replacement. Generally, silicone seals last longer due to their durability. Timely replacement is critical as it prevents leaks, which can lead to significant water damage and mold development. Regular inspections and maintenance can save you the hassle and expense of dealing with bigger issues, maintaining the overall efficiency of your frameless shower door.
FAQ
What are the benefits of using PVC seals for frameless shower doors?
PVC seals are flexible, making them ideal for uneven surfaces, and they are durable with good resistance to water damage. However, they may deteriorate under harsh water conditions.
Why should I consider polycarbonate seals over PVC?
Polycarbonate seals are more durable, resistant to cracking, and handle extreme temperatures better. While costly upfront, their longevity and environmental benefits may offset costs over time.
What tools are necessary for installing a V seal on shower doors?
Essential tools include a utility knife, measuring tape, and level. Safety gear such as gloves, goggles, and knee pads are also important to ensure safety during the installation.
How do I ensure the seal fits my shower door correctly?
Accurate measurement of the door width and thickness is crucial. Use a precision caliper for thickness and a tape measure for width to translate precise dimensions to the sealing material.
When should I replace my shower door seals?
Replace seals if you notice visible cracks, stiffness, or diminished flexibility. Regular inspections can help determine when a replacement is needed to avoid water damage.


留下评论